Getting started with Apantula
A step-by-step guide to help you get the most out of your property management.
1. Creating your account
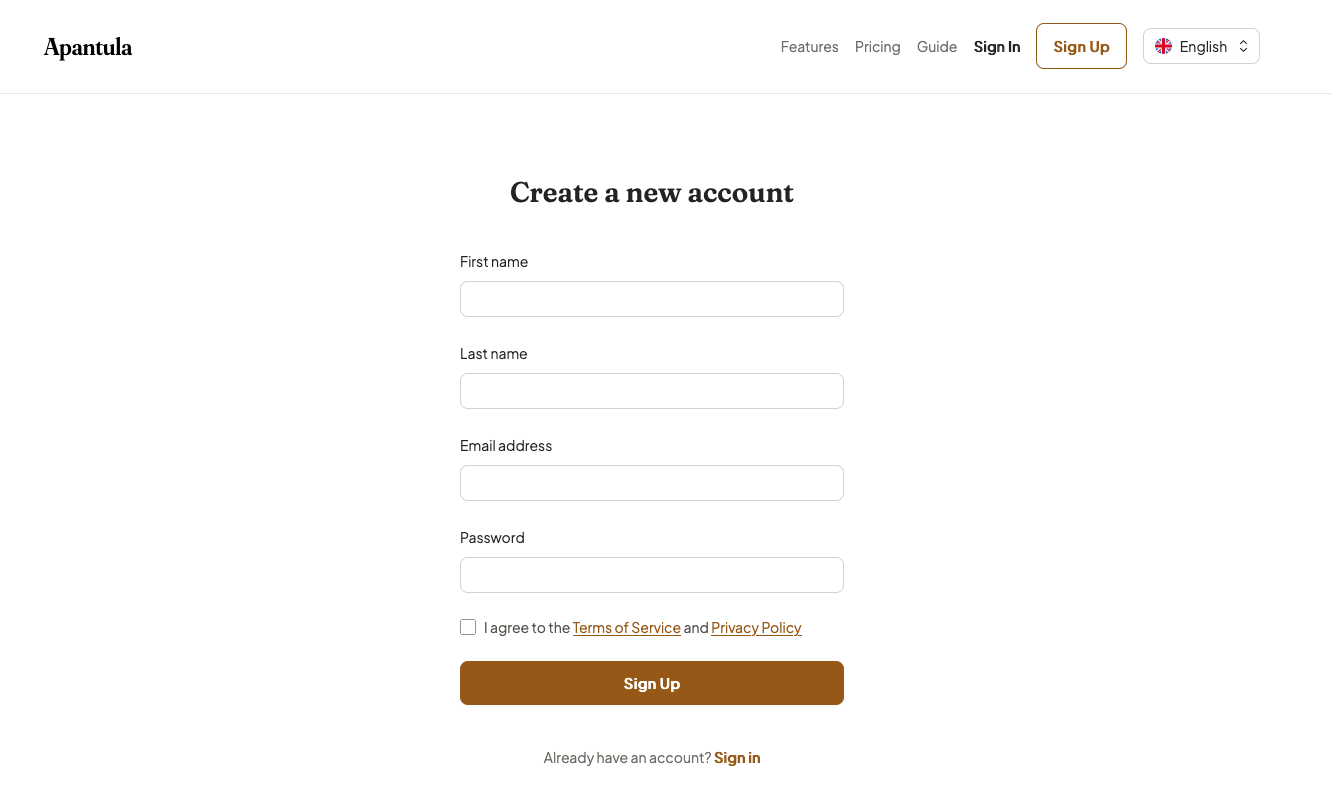
Sign up with your email address and verify it. Once your account is confirmed, Apantula will guide you through setting up your first property.
2. Setting up your first property
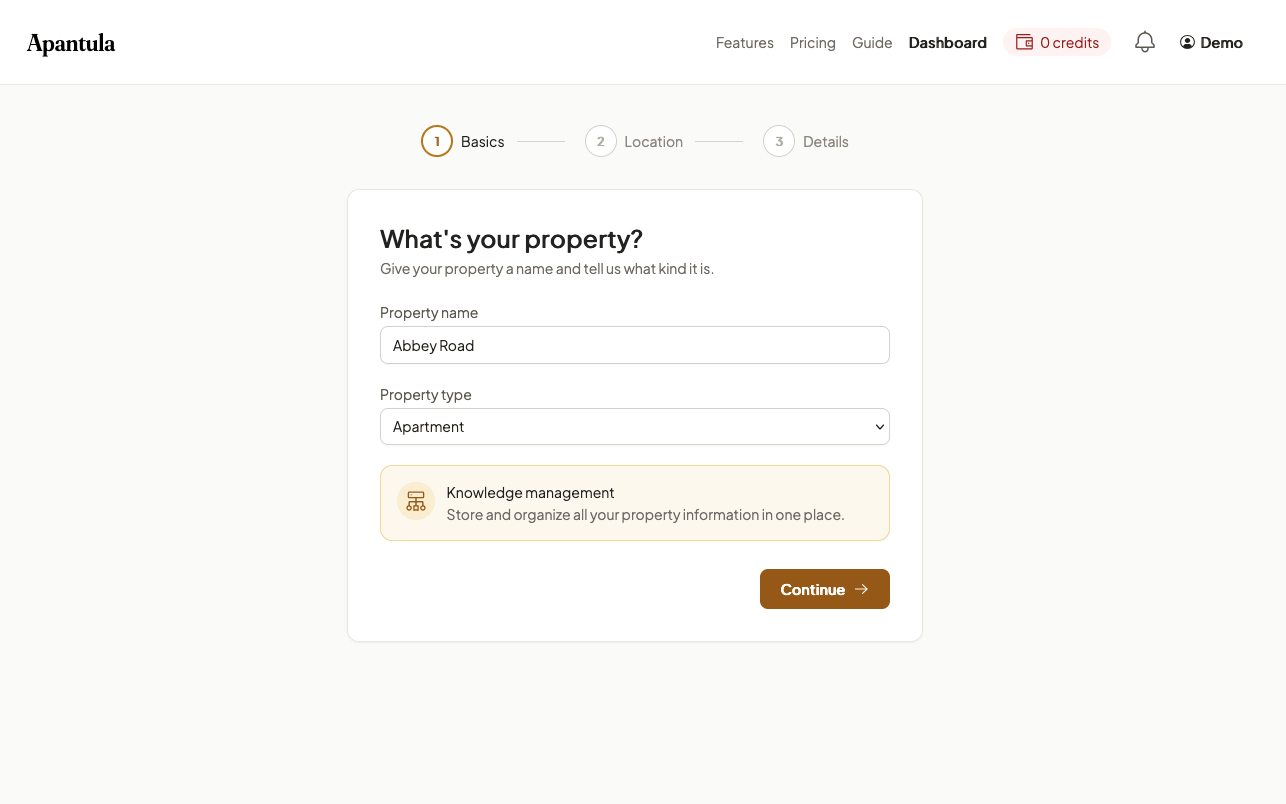
Your first property is free. Give it a name, choose the type (house, apartment, land, commercial, or farm), and add the address. You can always update these details later.
Choose a clear name you'll recognize — especially if you plan to manage more than one property.
3. Uploading documents
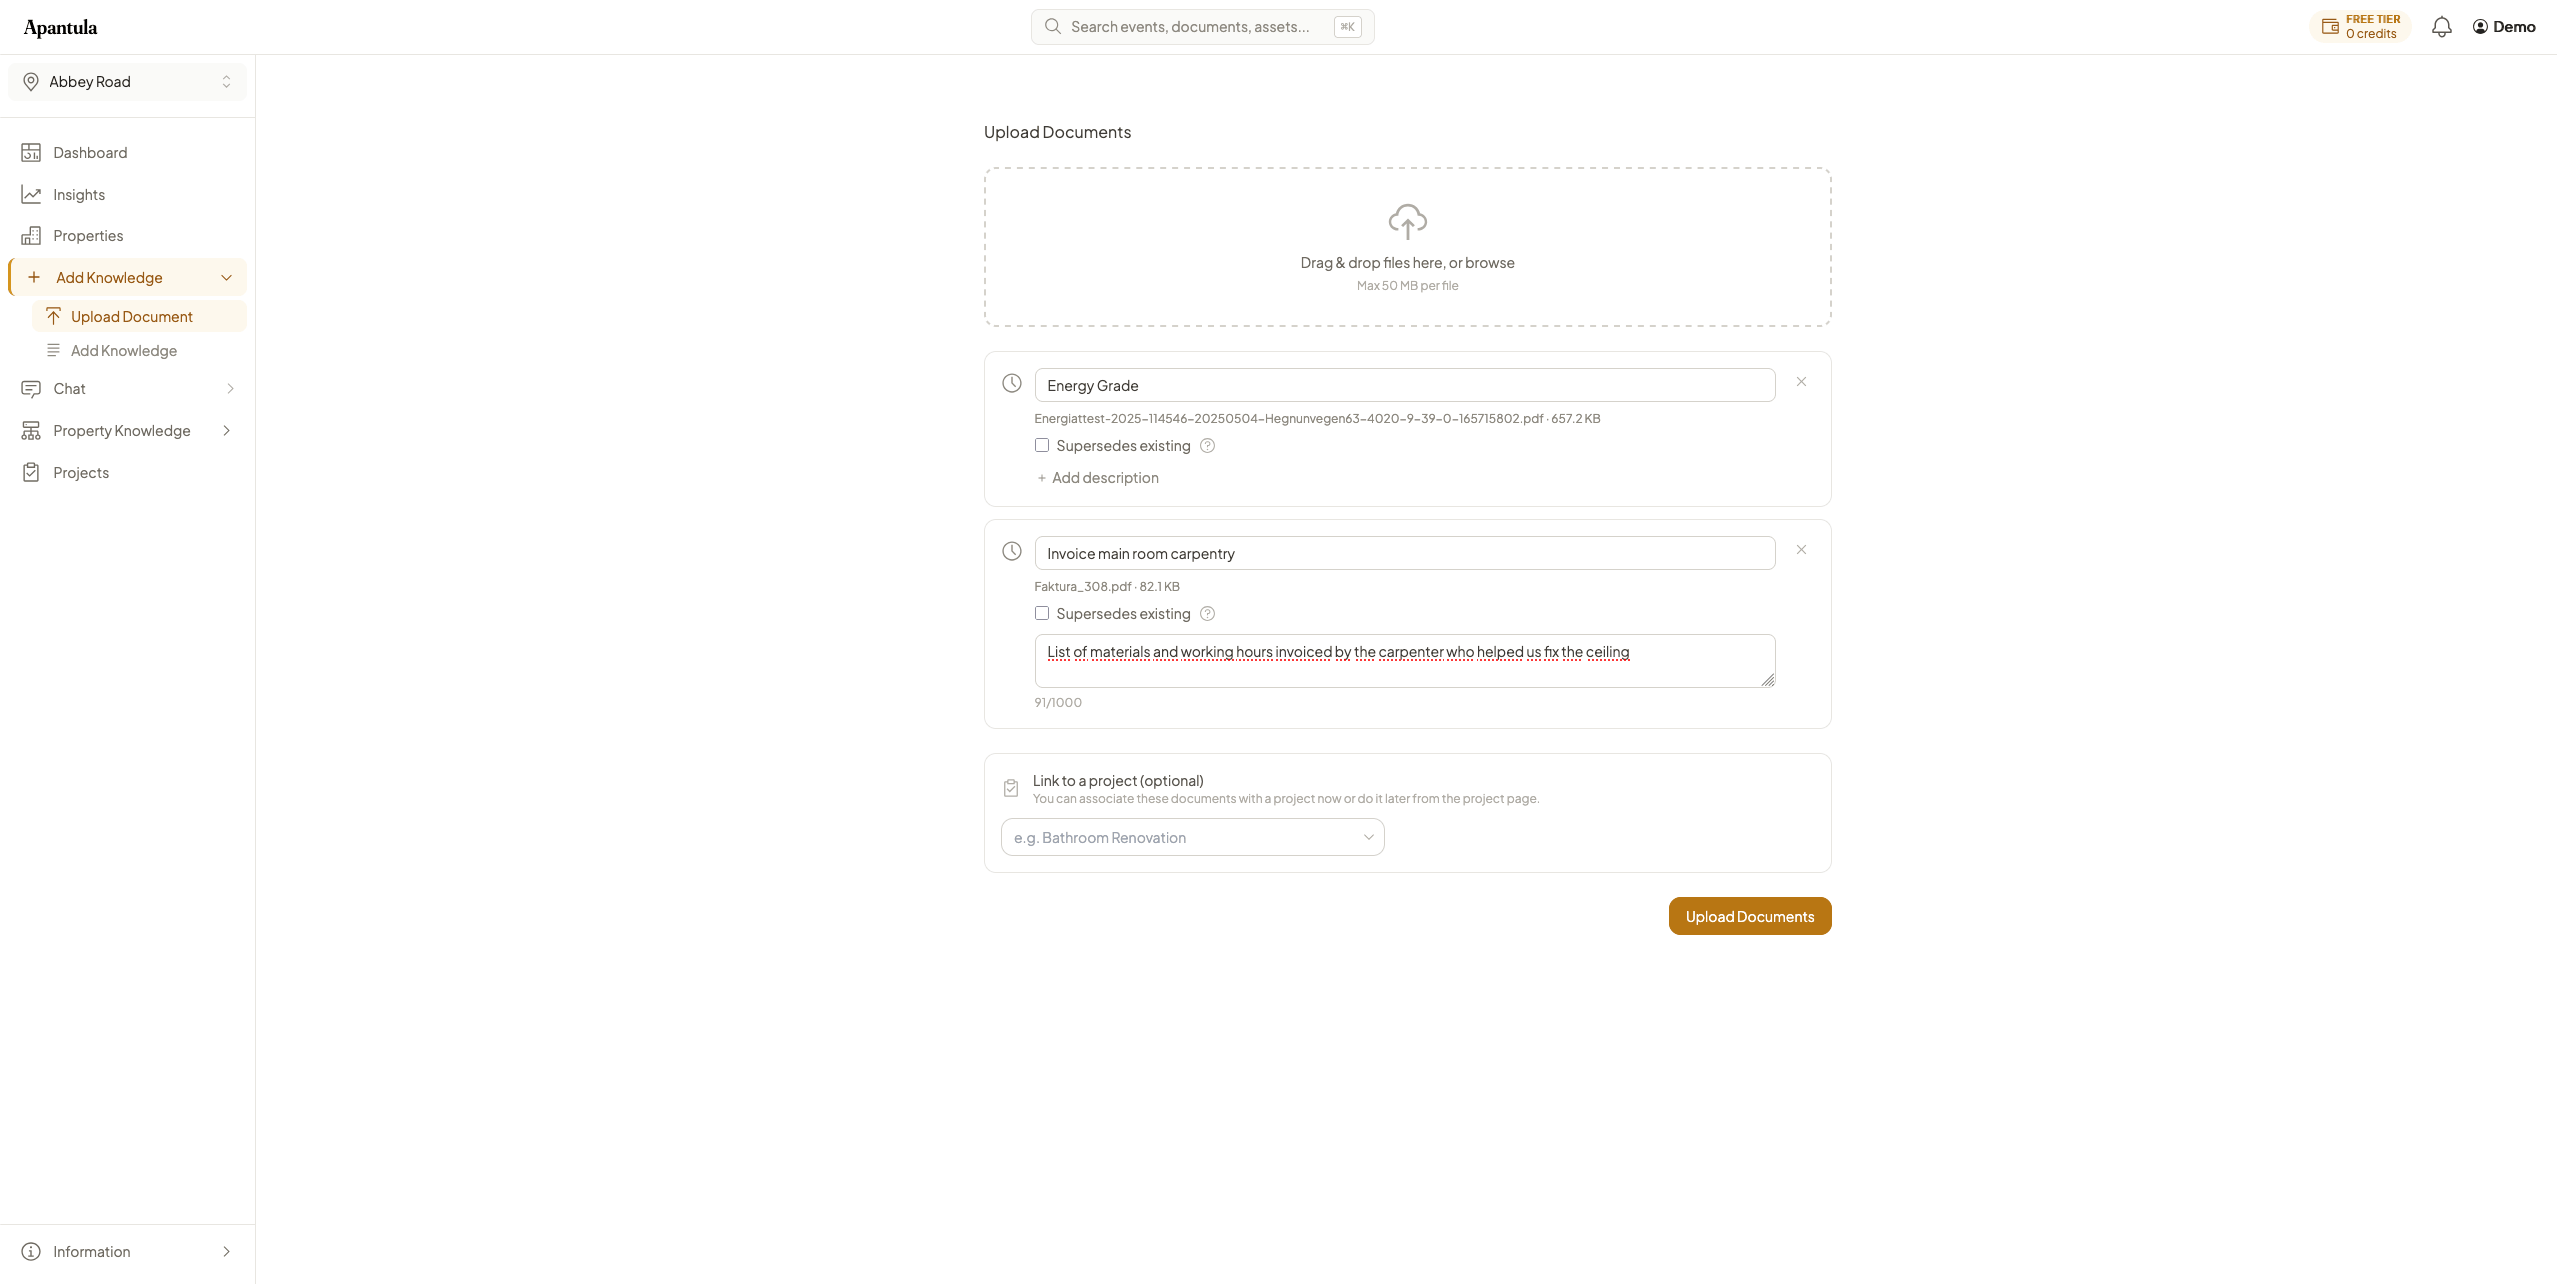
Go to the upload page and drag your files in, or browse to select them. You can upload multiple documents at once. Each document is processed automatically — Apantula reads the content and extracts events, assets, and key details.
Upload contracts, inspection reports, invoices, and insurance policies. The more documents you add, the more complete your property knowledge becomes.
Supported formats: PDF, JPG, PNG, and common document types.
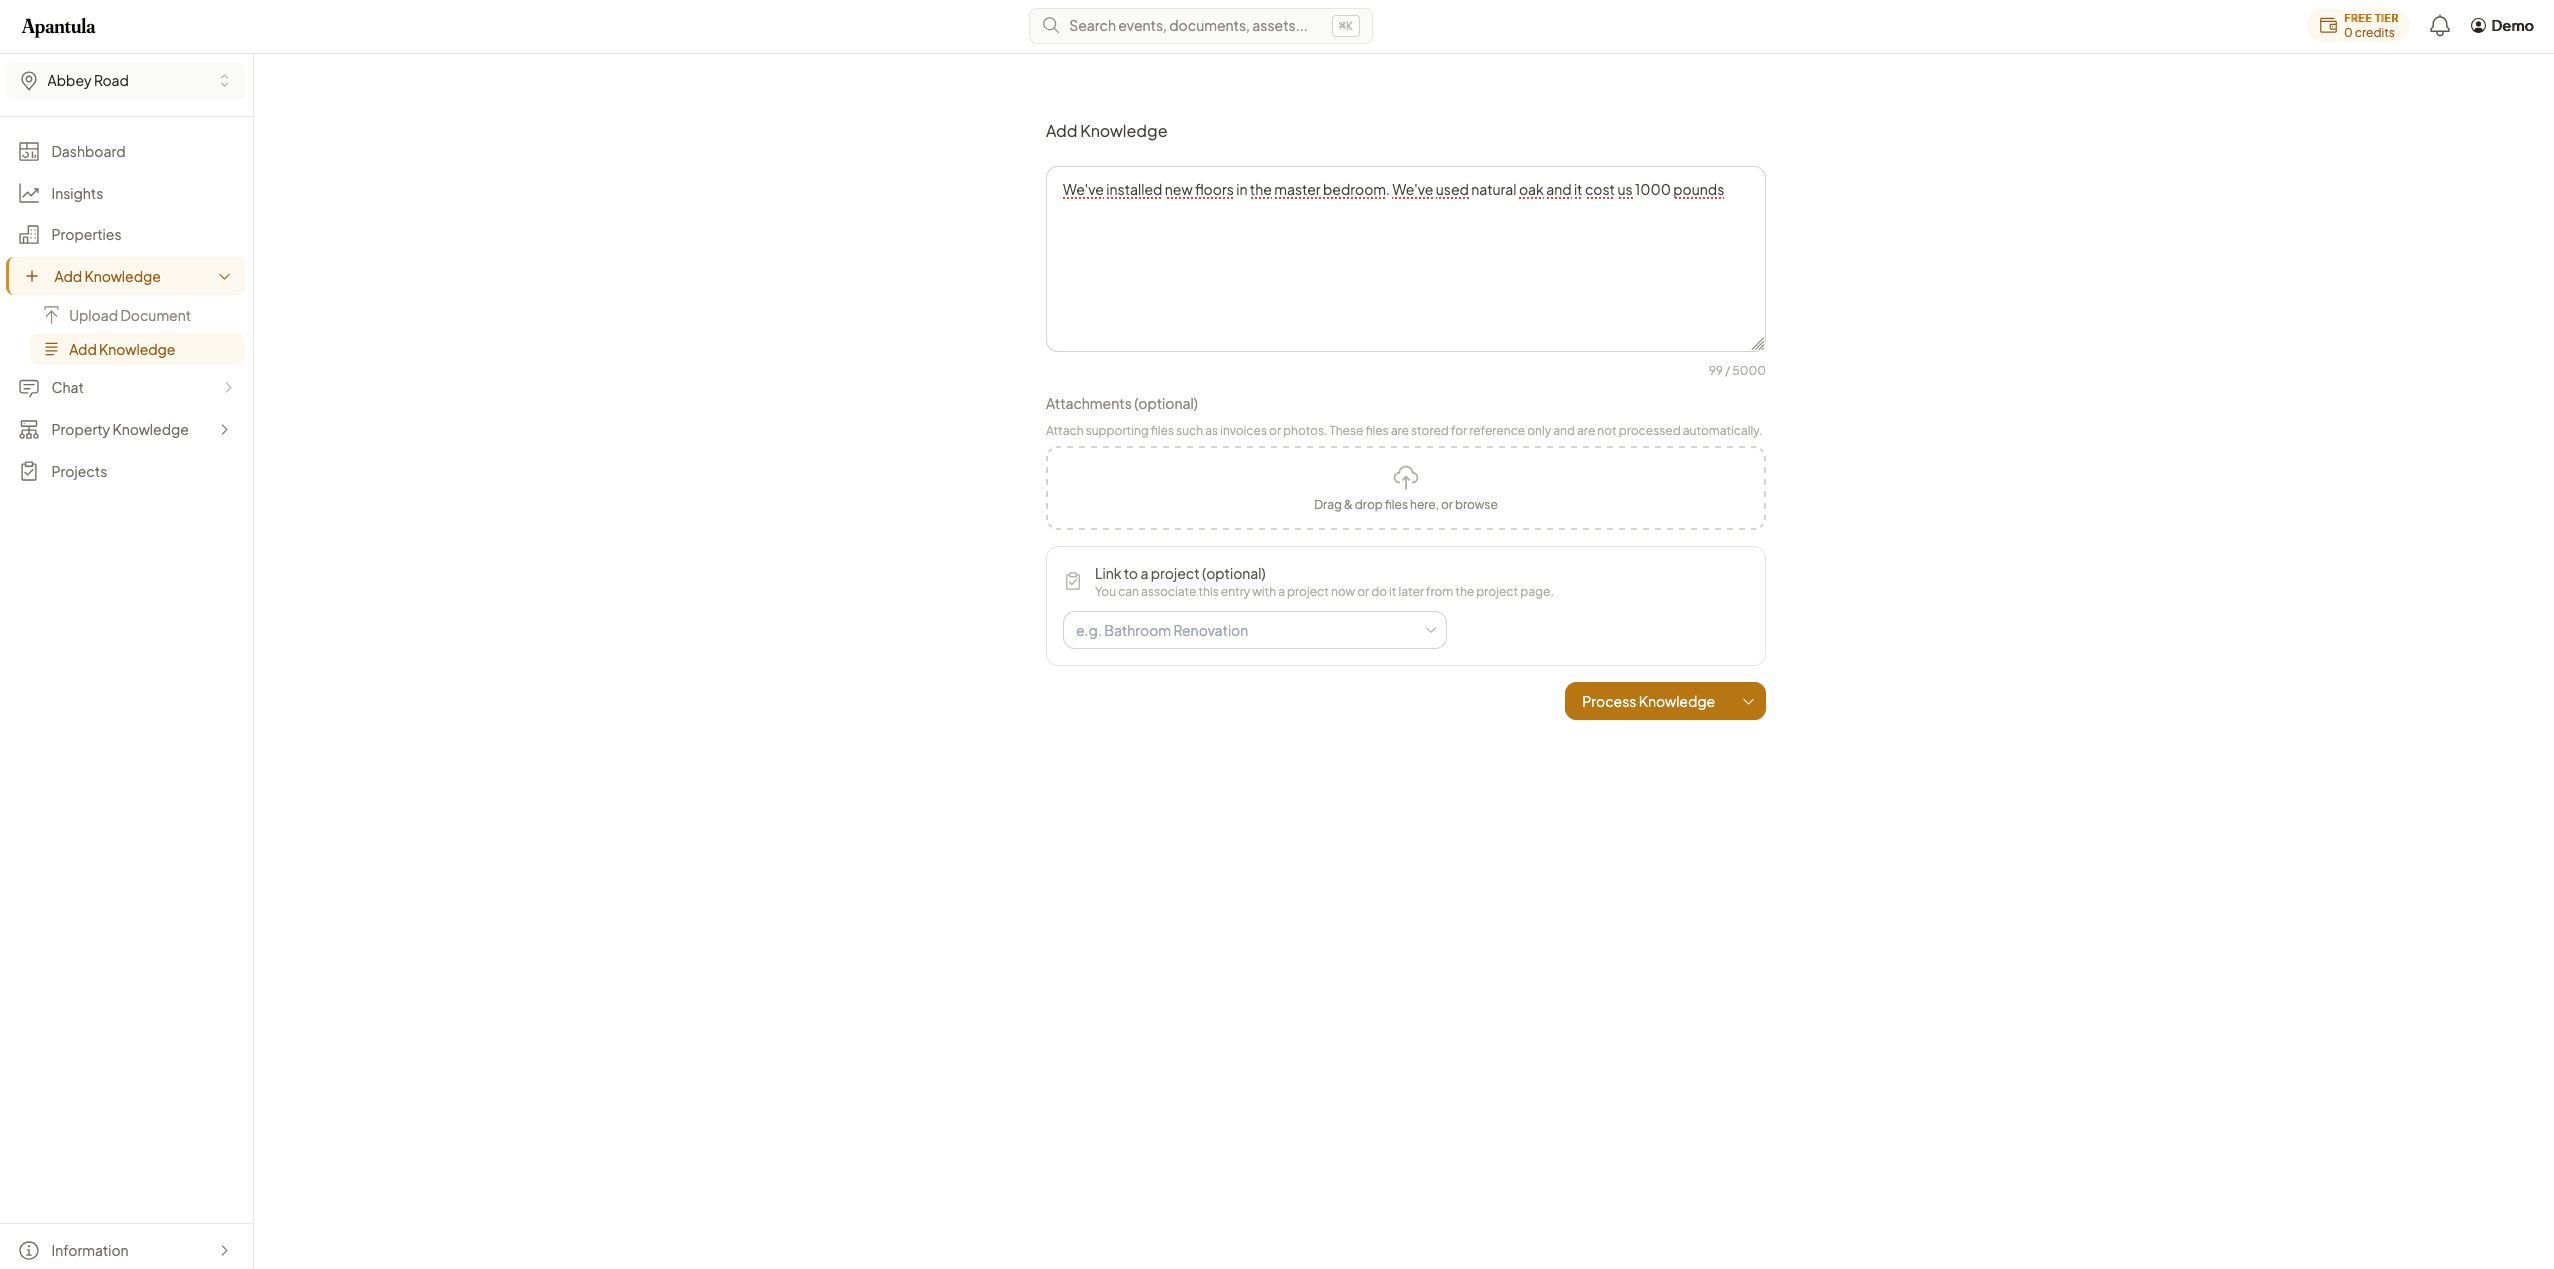
4. Adding knowledge manually
Not everything is in a document. Use the knowledge entry form to type in anything you know about your property — for example: "The kitchen was renovated in 2019 by Acme Builders. We replaced the countertops and installed a new dishwasher."
Write naturally. Apantula will extract dates, costs, assets, and events from your text.
5. Asking questions about your property
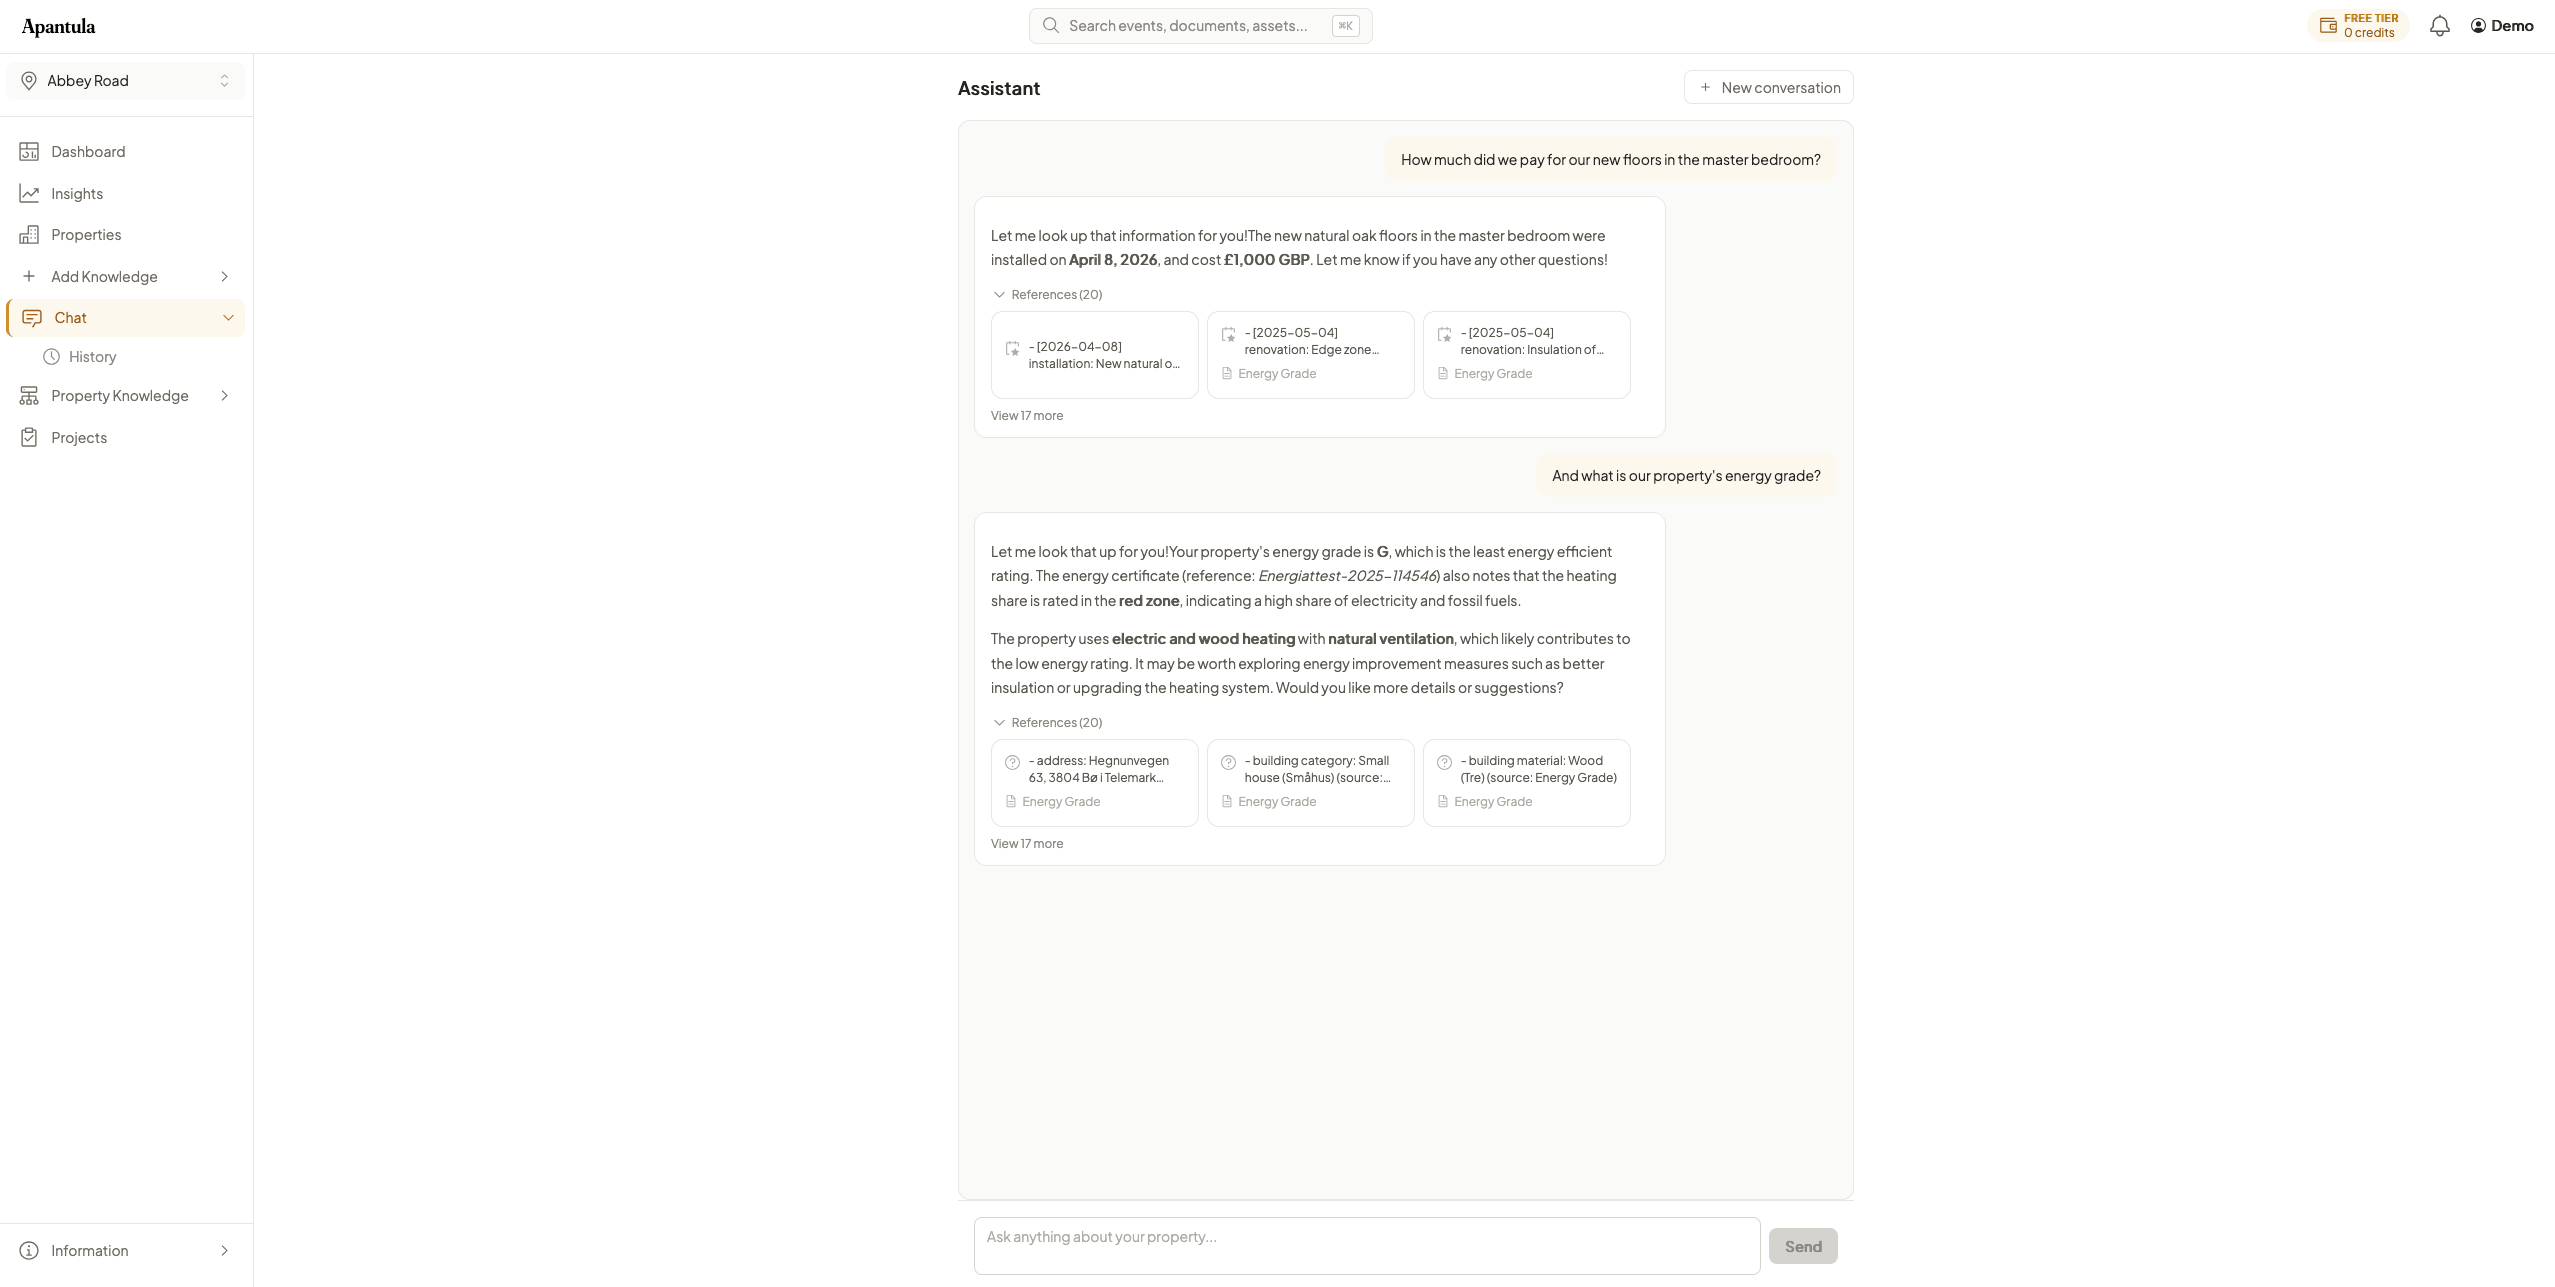
Open the chat and ask anything about your property. Questions like "When was the roof last inspected?" or "How much did I spend on plumbing?" are answered based on your documents and entries, with references you can check.
The more information you've added, the better the answers. Chat responses are generated automatically and should always be verified for important decisions.
6. Understanding insights
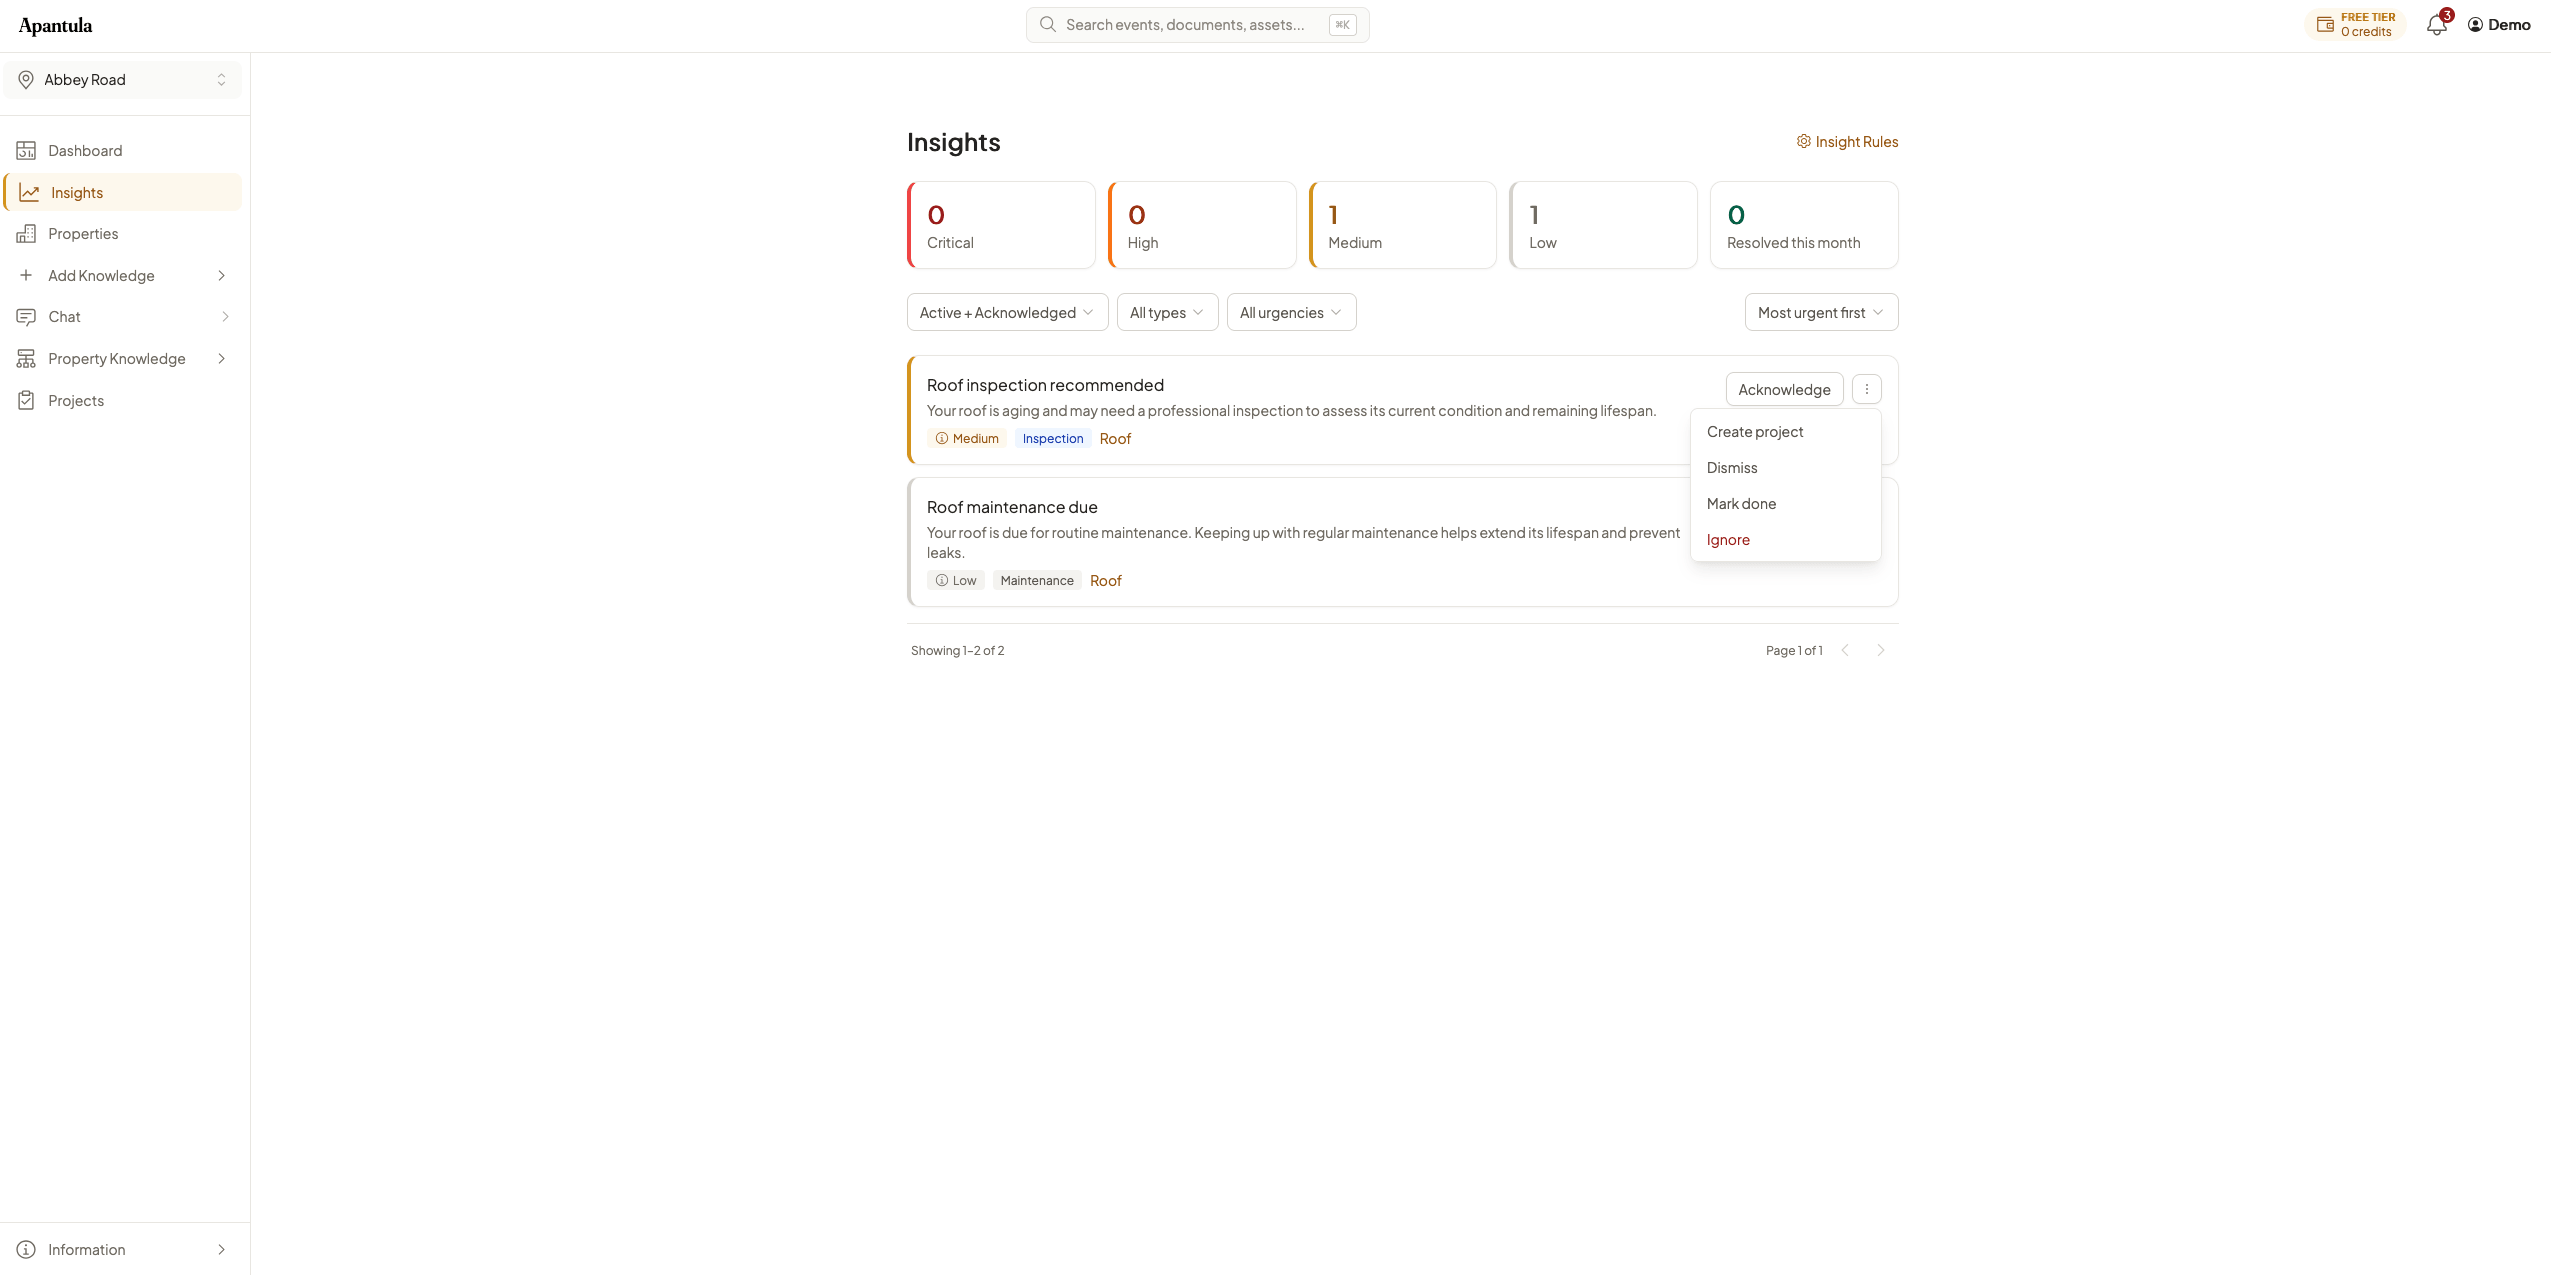
Insights are reminders and suggestions based on your property data. They appear automatically when something needs attention — like an overdue maintenance check or an inspection approaching its due date.
Review insights regularly so nothing gets overlooked. You can set up custom rules to match your property's specific needs.
You can acknowledge, dismiss, or mark insights as done. From the insight rules page, you can also create custom recurring reminders — for example, "Check the gutters every 6 months."
7. Managing projects
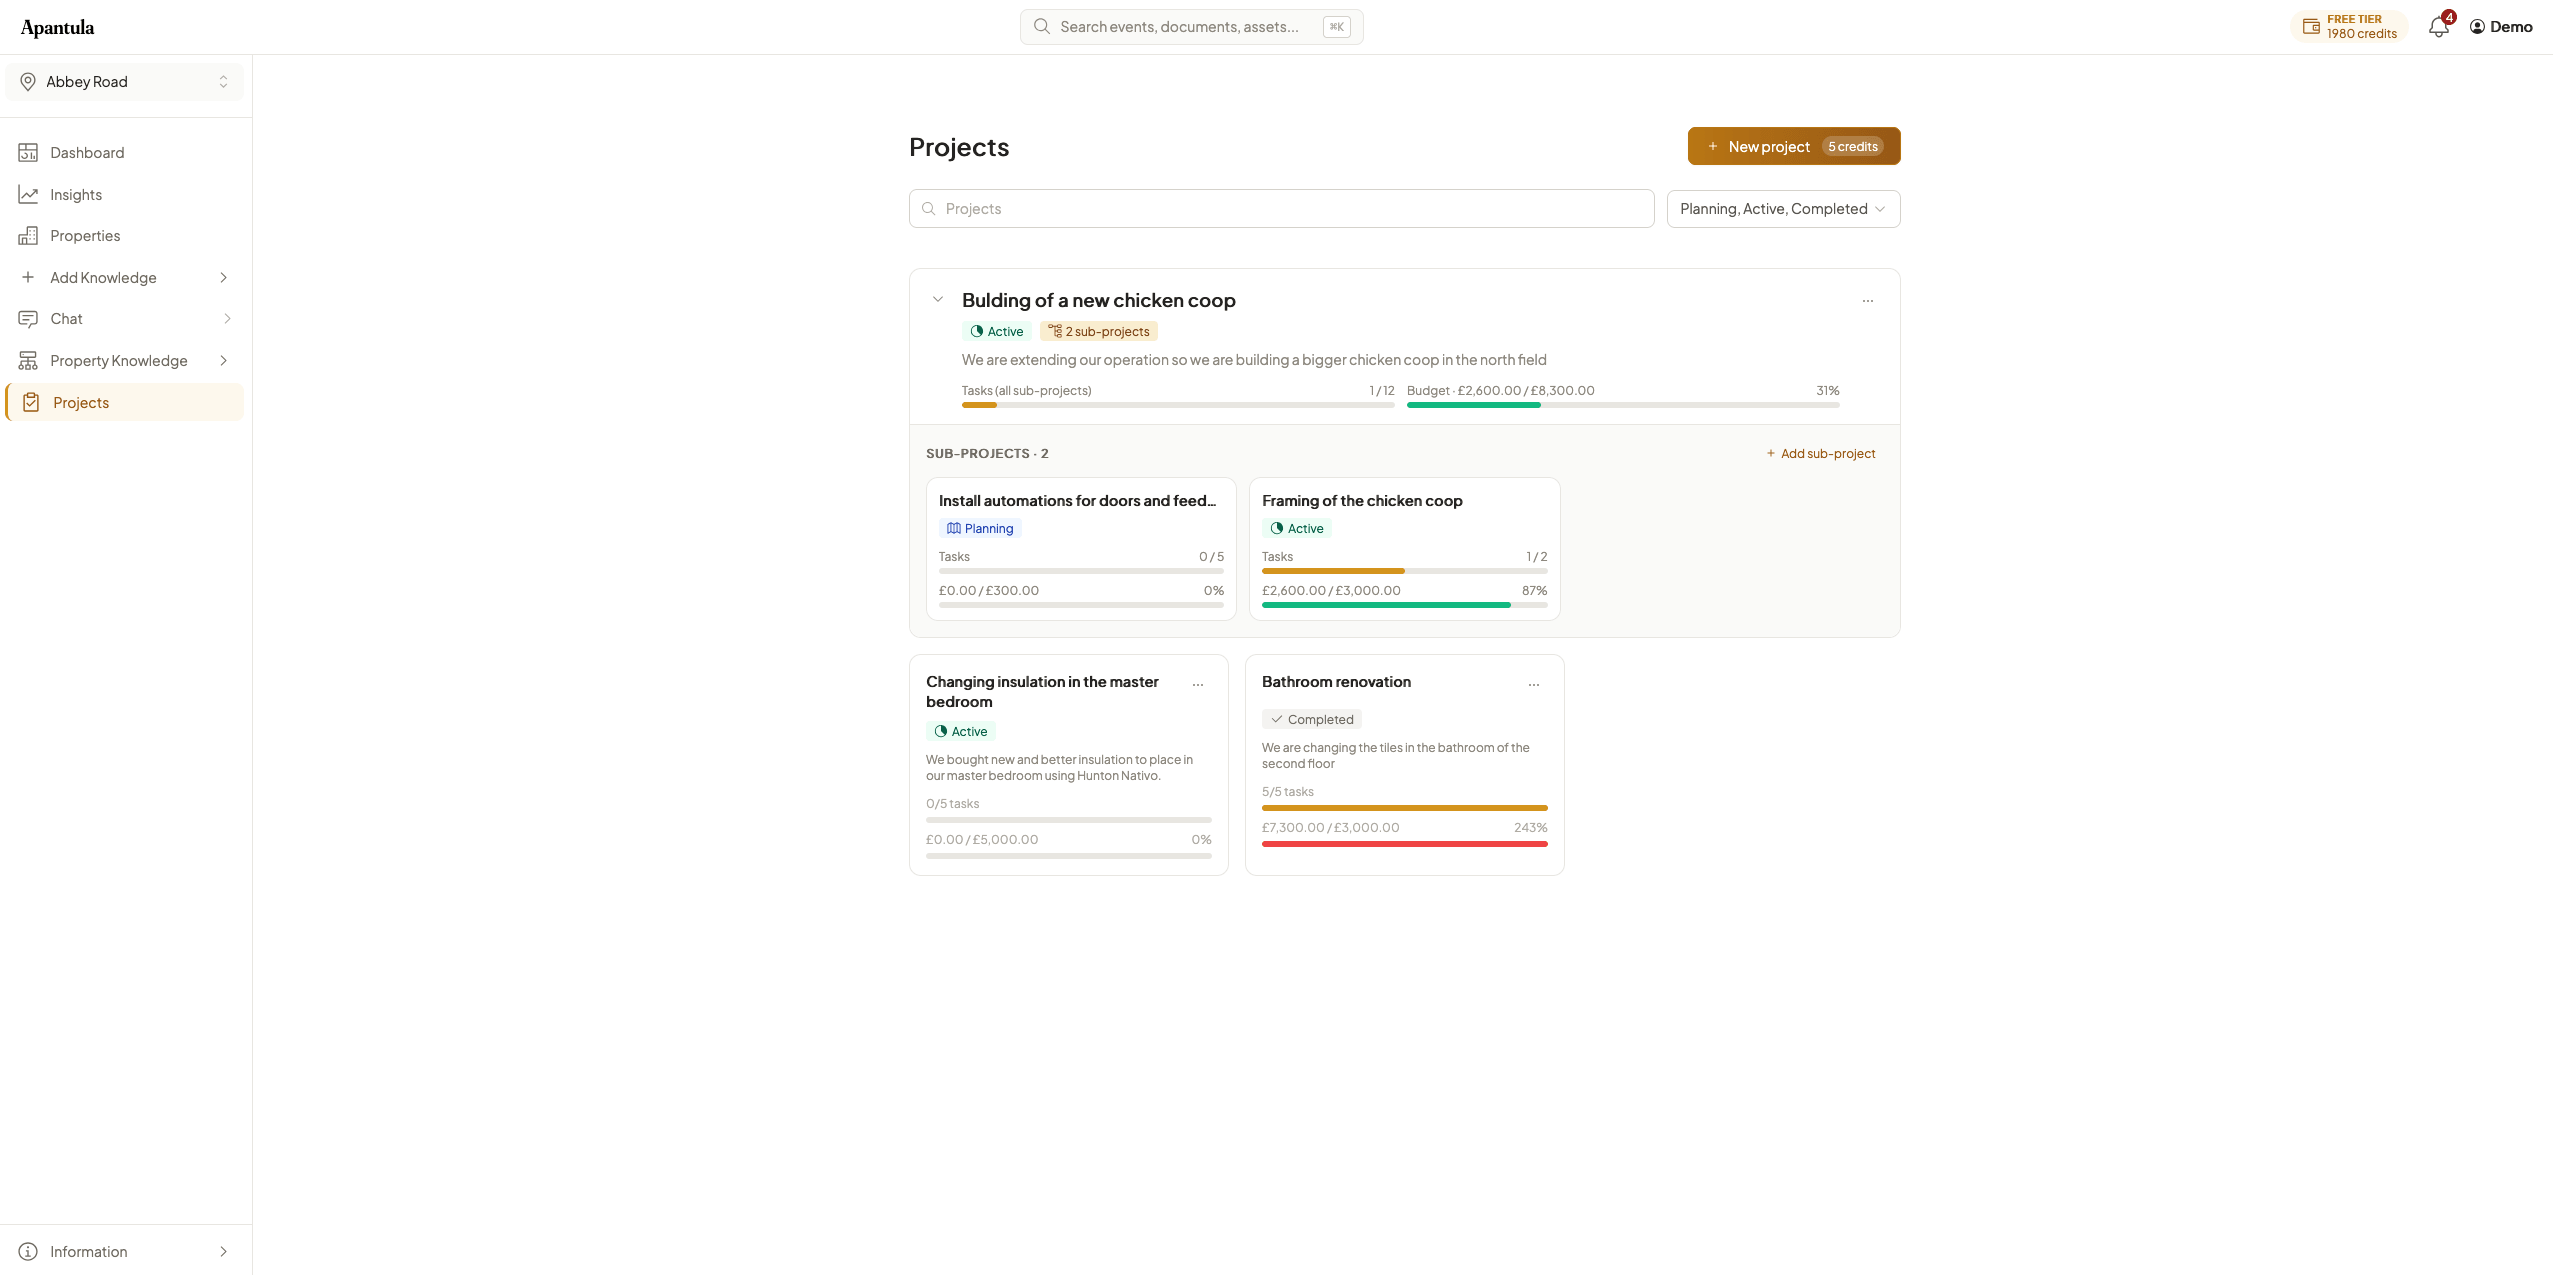
When you have renovation, repair, or maintenance work to organize, create a project. Projects help you track tasks, set a budget, and link related documents and knowledge entries in one place.
Your first project on each property is free. Additional projects cost 5 credits each.
8. Sharing your property
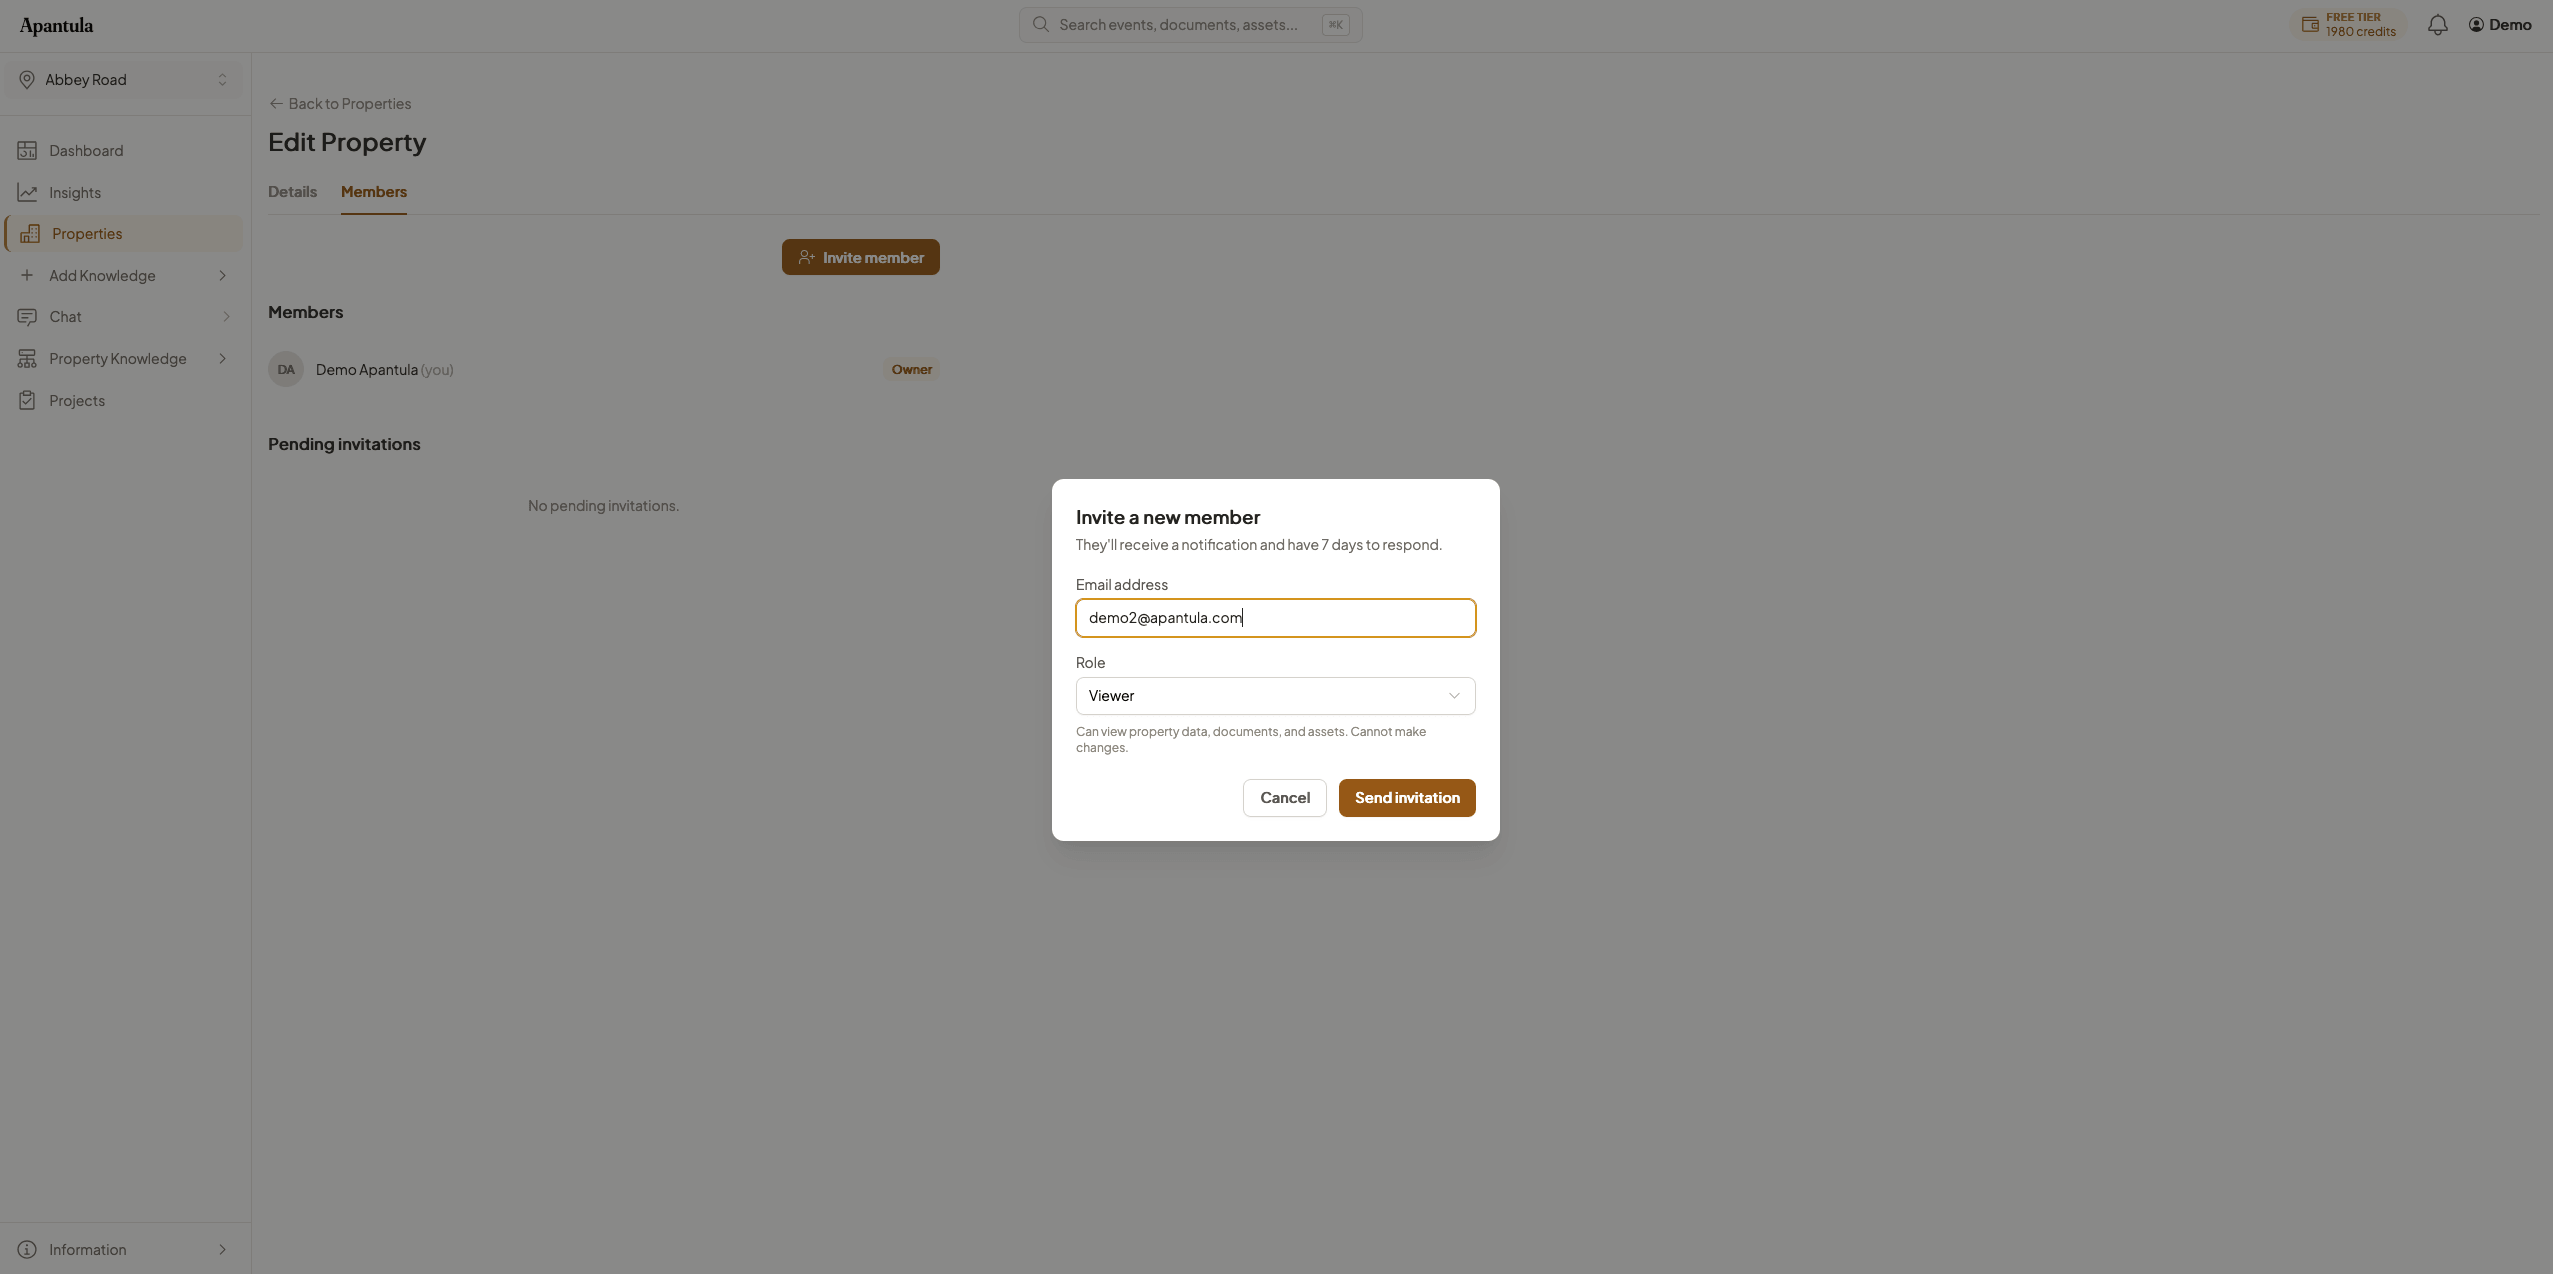
Invite others to your property from the Members tab. Enter their email address and choose a role.
Invitations expire after 7 days. You can revoke a pending invitation at any time.
Owners have full control. Editors can view and modify data. Viewers have read-only access.
9. Credits and billing
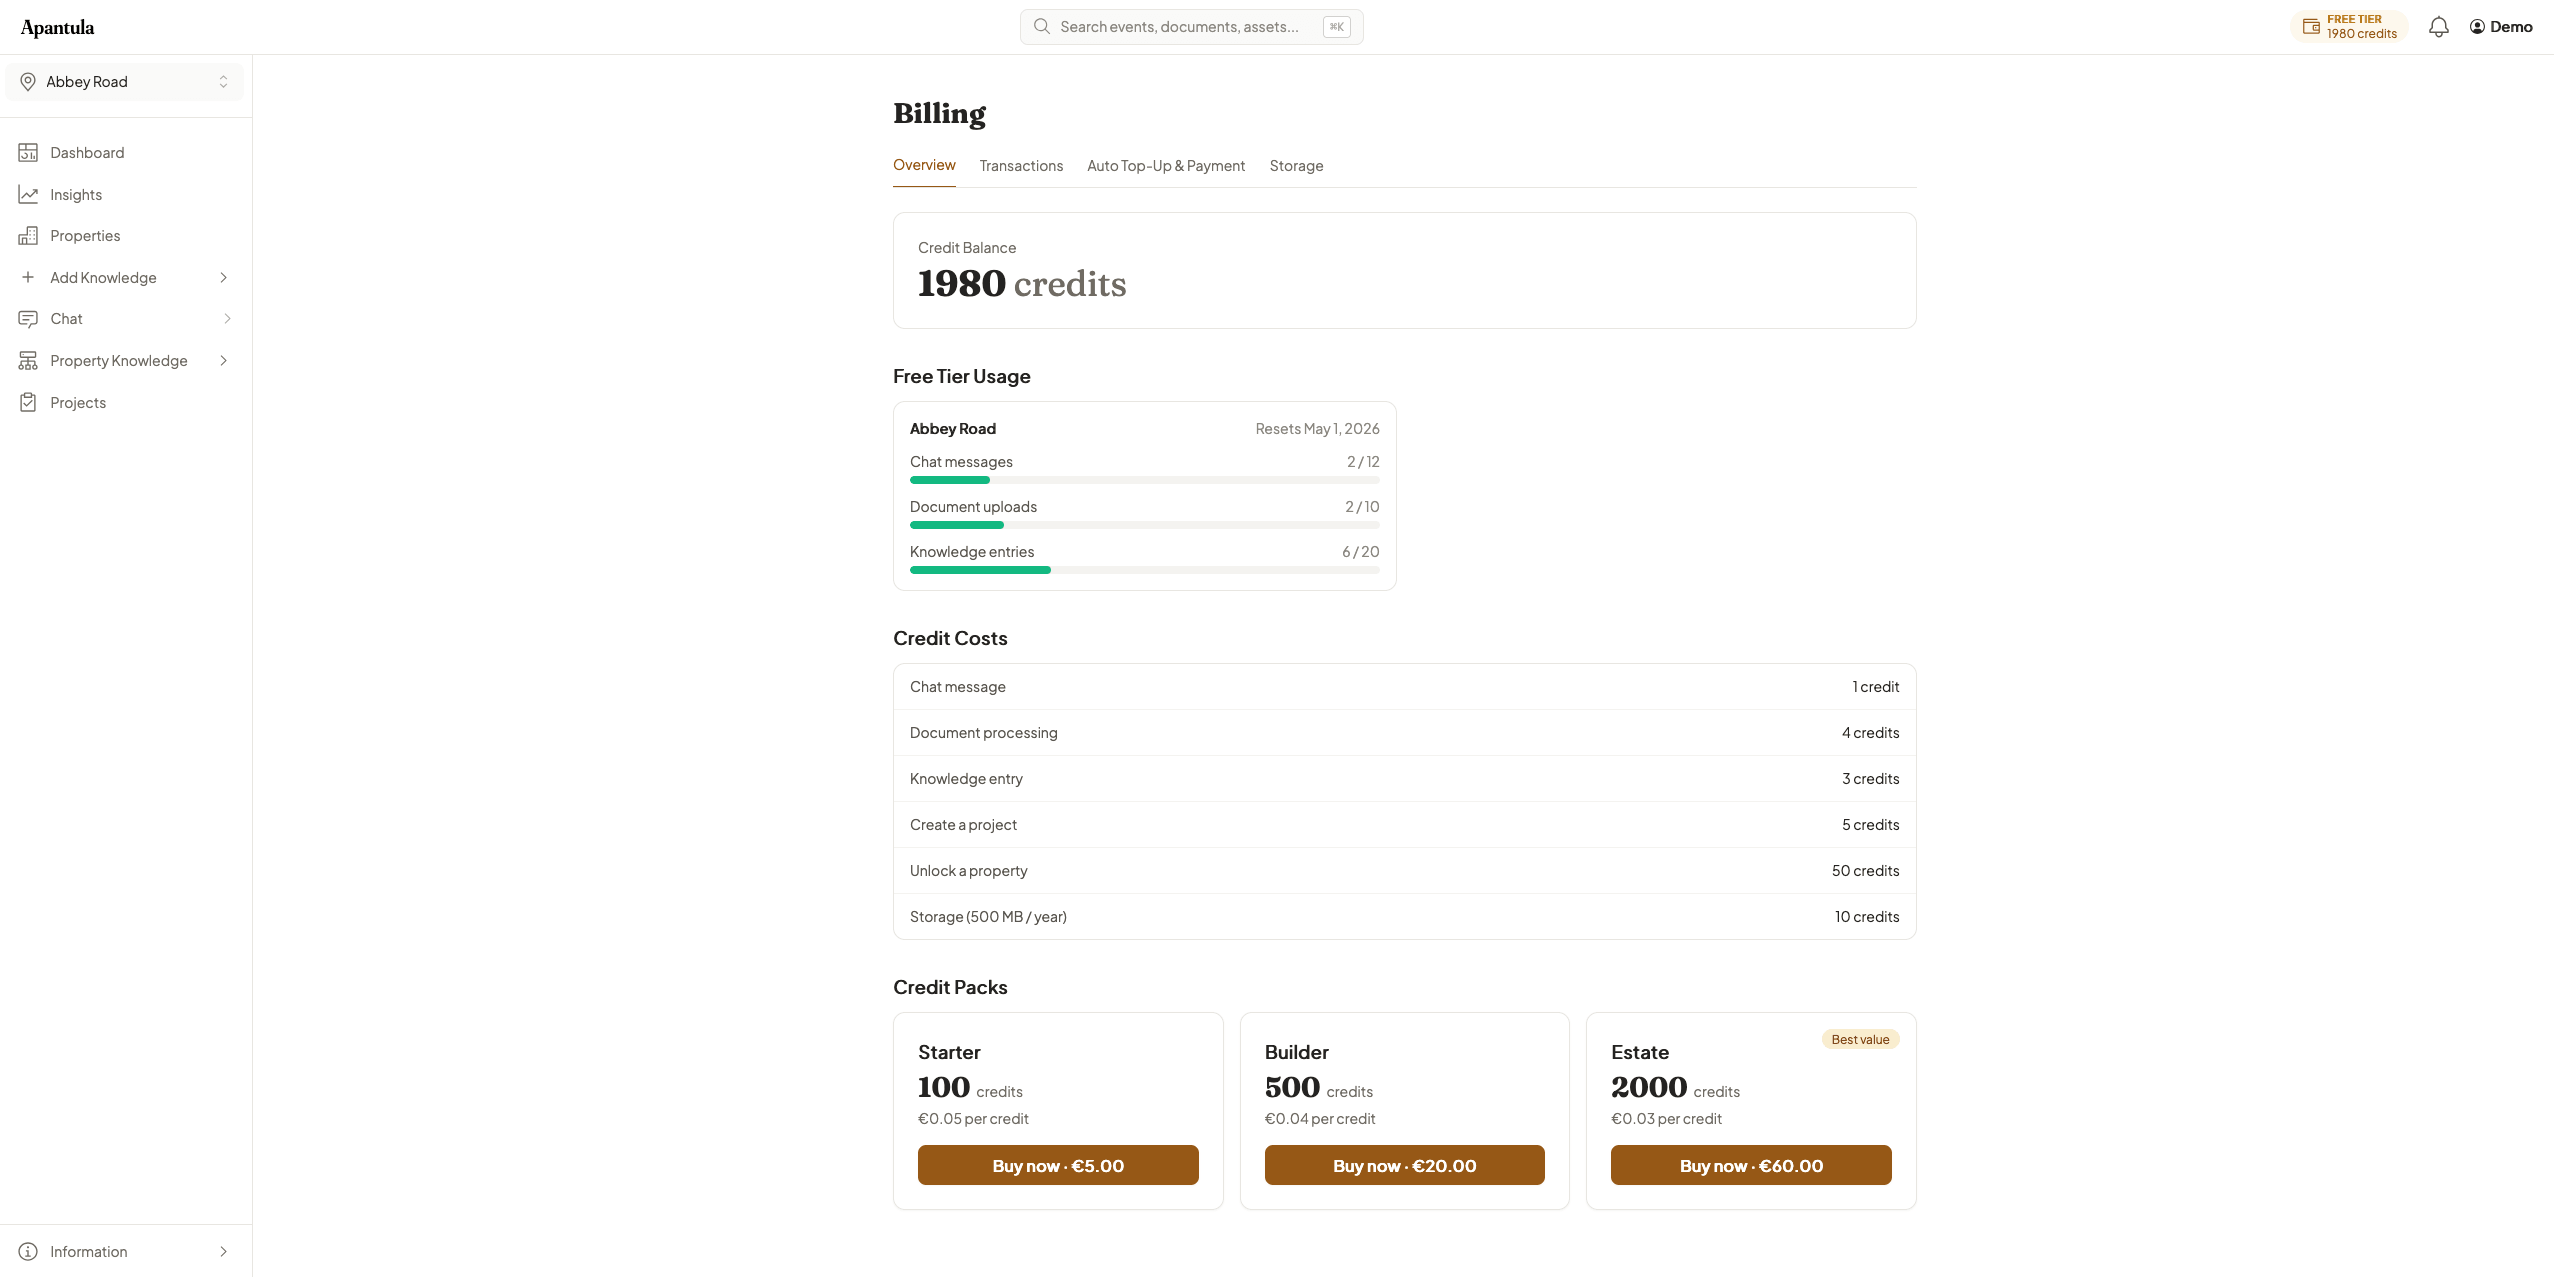
Your first property and its monthly free allowance don't require payment. When you need more, purchase credit packs from the billing page. Credits are used for chat messages, document uploads, knowledge entries, and more.
Set up auto top-up if you want to make sure you never run out of credits unexpectedly. You control the monthly spending limit.
See the full pricing breakdown →